Selecting the right Halloween crafts for children involves balancing engagement, age-appropriateness, and material accessibility. The goal extends beyond merely occupying time; it's about fostering creativity, developing fine motor skills, and creating tangible holiday memories. For parents and educators, identifying projects that align with a child's developmental stage while minimizing frustration and maximizing fun is key. This means considering not just the visual appeal of the finished product, but also the process, the required supervision, and the cost-effectiveness of materials.
Crafting for Different Age Groups
The success of any craft project hinges on its suitability for the child's age and skill level. Projects that are too complex lead to frustration, while those too simple can quickly lose interest. Tailoring the activity ensures both engagement and a sense of accomplishment.
Simple & Sensory: Toddlers and Preschoolers (Ages 2-5)
For the youngest crafters, focus on activities that emphasize tactile exploration and simple actions like tearing, sticking, and painting with fingers or large brushes. These projects are often process-oriented, with the joy derived more from the act of creation than the final outcome.
- Paper Plate Ghosts: Provide pre-cut paper plate halves, cotton balls, and glue sticks. Children can glue cotton to the plate, then add pre-cut paper eyes and a mouth. Benefit: Develops fine motor skills, introduces textures, and requires minimal supervision once materials are prepared.
- Footprint or Handprint Spiders: Use washable black paint to create handprints or footprints on paper. Once dry, add googly eyes and pipe cleaner legs. Benefit: Creates a personalized keepsake, involves sensory play, and is a quick activity.
- Leaf Rubbings: Collect fallen leaves and place them under thin paper. Children use crayons on their side to rub over the leaves, revealing their patterns. Benefit: Connects children with nature, develops hand-eye coordination, and requires no messy glues.
Creative & Skill-Building: Elementary Schoolers (Ages 6-10)
Children in this age range can handle more intricate steps, use scissors more proficiently, and follow multi-step instructions. Projects can introduce basic construction, design principles, and more detailed decoration.
- Monster Masks: Provide cardstock, markers, glitter, feathers, and various embellishments. Children can design and cut out their own monster faces, attaching elastic or string to wear them. Benefit: Encourages imaginative design, improves scissor skills, and results in a wearable item for play.
- Haunted House Dioramas: Use shoe boxes as the base. Provide construction paper, pipe cleaners, small plastic spiders, and cotton balls. Children can create scenes with spooky elements. Benefit: Develops spatial reasoning, storytelling through visuals, and utilizes recycled materials.
- Yarn-Wrapped Mummies: Cover toilet paper rolls with white yarn, securing with glue. Add googly eyes peeking out. Benefit: Enhances fine motor control and patience, repurposes household items, and is relatively low-mess.
Detailed & Decorative: Tweens and Young Teens (Ages 11-14)
At this stage, projects can involve more complex techniques, require greater precision, and often result in decorative items that can be displayed or used. The focus shifts towards refined execution and personal expression.
- Decoupage Pumpkin Decorating: Instead of carving, use Mod Podge and cut-out images from magazines, comic books, or printed patterns to decorate pumpkins. Benefit: Offers a safer alternative to carving, allows for sophisticated designs, and results in a durable decoration.
- Themed Treat Bags: Purchase plain canvas or paper bags. Provide fabric paints, stencils, iron-on transfers, or permanent markers for creating custom Halloween-themed designs. Benefit: Combines practical use with artistic expression, allows for personalization, and can be used for trick-or-treating.
- Glow-in-the-Dark Jar Lanterns: Paint the inside of glass jars with glow-in-the-dark paint, creating spooky silhouettes or patterns. Add tea lights (battery-operated for safety). Benefit: Introduces light and shadow concepts, creates atmospheric decor, and offers a functional outcome.
Pro Tip: Prioritize safety by always supervising young children when using scissors, glue guns, or small parts that could be choking hazards. Opt for child-safe, non-toxic materials, especially for crafts that might come into contact with mouths or skin. Establish a designated crafting area to contain mess and simplify cleanup.
Material Sourcing and Preparation
Efficient craft preparation involves gathering necessary supplies and setting up a workspace. Many effective Halloween crafts utilize common household items, reducing cost and promoting resourcefulness.
Essential Craft Supplies:
- Paper: Construction paper, cardstock, paper plates, coffee filters.
- Adhesives: Glue sticks, white school glue, non-toxic craft glue.
- Coloring Tools: Crayons, washable markers, tempera paint.
- Cutting Tools: Child-safe scissors, adult scissors for pre-cutting.
- Recyclables: Toilet paper rolls, paper towel rolls, shoe boxes, plastic bottles, egg cartons.
- Embellishments: Googly eyes, pipe cleaners, pom-poms, cotton balls, yarn, glitter (optional, for older kids).
- Natural Elements: Leaves, small twigs, pinecones (collected outdoors).
Pre-cutting shapes for younger children, setting out all materials before starting, and covering surfaces with newspaper or a plastic tablecloth can significantly streamline the crafting process and minimize cleanup time.
Beyond the Craft: Display and Extension
Once the crafts are complete, consider how they can be displayed or integrated into Halloween celebrations. This adds to the sense of achievement and provides a tangible reward for their efforts.
Display Options:
- Create a "spooky gallery" on a wall or bulletin board.
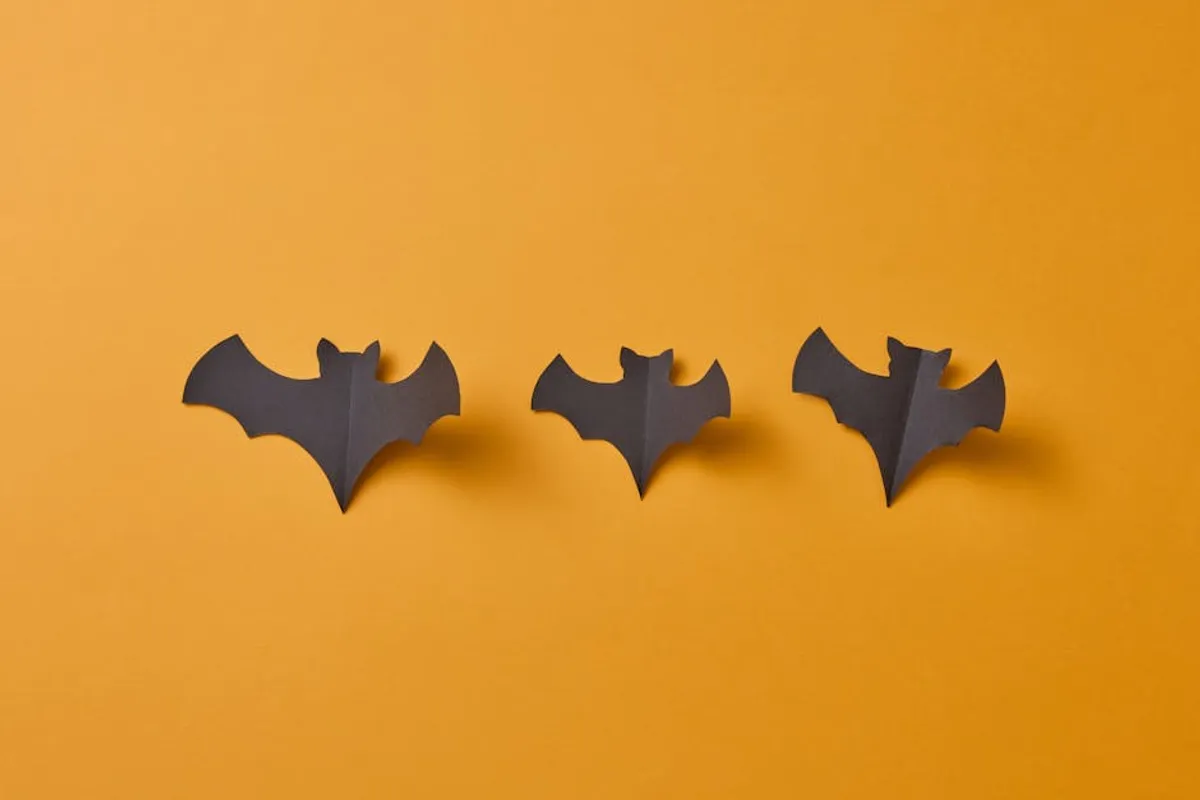
- Hang ghost or bat crafts from ceilings or doorways.
- Use decorated jars or pumpkins as centerpieces.
- Incorporate masks or wearable items into costumes.
Extend the activity by encouraging children to tell stories about their creations, describe the process, or even create a play using their crafted items. This reinforces language skills and imaginative play, transforming a simple craft session into a broader educational experience.
Making the Most of Halloween Crafting
Choosing the right Halloween craft transforms a simple activity into a developmental opportunity and a cherished family tradition. Prioritize safety, age-appropriate challenges, and the joy of creation over perfection. The true value lies in the shared experience, the development of new skills, and the unique, handmade decorations that mark the season. These projects offer a concrete way to engage children in the holiday spirit, fostering both creativity and connection.
Frequently Asked Questions
What are some mess-free Halloween crafts for young children?
For minimal mess, consider projects like sticker mosaics on pre-drawn Halloween shapes, leaf rubbings, or decorating pre-cut paper shapes with glue sticks and cotton balls. These avoid paints and glitter.
How can I make Halloween crafts educational?
Incorporate counting materials, discuss shapes and colors, or use crafts to tell stories. For older children, research the history of Halloween symbols (like bats or pumpkins) and integrate those into their designs.
What basic supplies should I have on hand for Halloween crafts?
Stock up on construction paper in various colors, child-safe scissors, glue sticks, washable markers, googly eyes, and pipe cleaners. Recycled items like toilet paper rolls and shoeboxes are also versatile bases.
How do I store Halloween crafts after the holiday?
For flat crafts, store them in a large envelope or portfolio. Three-dimensional crafts can be carefully placed in a labeled box with tissue paper or bubble wrap to prevent damage. Consider photographing each craft before storing or discarding.